https://blog.tensorflow.org/2018/07/tf-jam-shooting-hoops-with-machine-learning.html?hl=ur
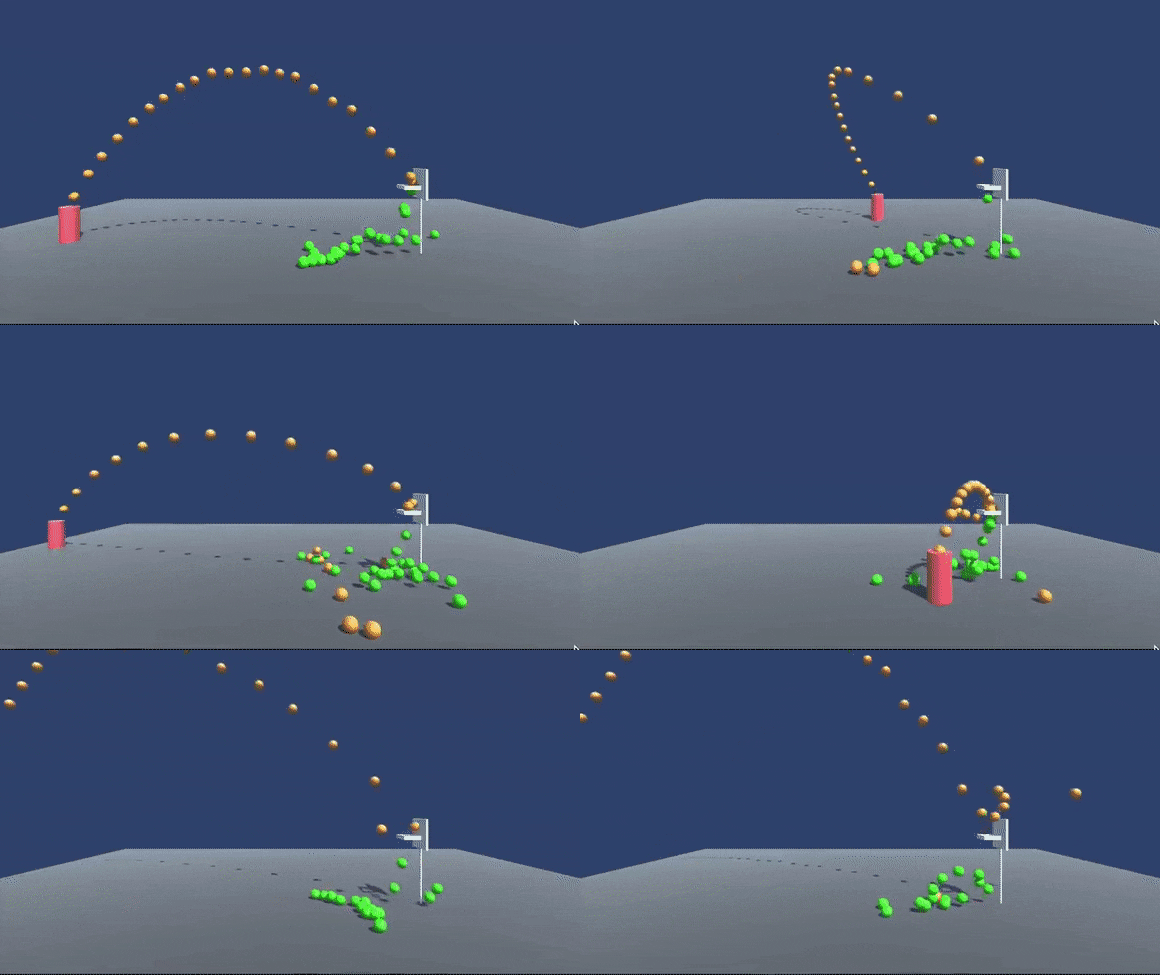
https://blogger.googleusercontent.com/img/b/R29vZ2xl/AVvXsEidh9BkWMiTFJkVp4ICLPMzxjxOKiqpmgo6rOBuuXIptvI81IsHq6rT8kVvB0ypkHk-ktQCof4fAmpRjpaCPvqU5Z38jvd7sdTLGTRF9rlD2QIzC-5ql77_9AyKaeobrOietJQRvcBr0S8/s1600/0_VTFbD4rcGt1ySzQS.gif
Posted by Abe Haskins (Twitter, Github)
In this article, we’ll dive into using
Unity3D and
TensorFlow to teach an AI to perform a simple in-game task: shooting balls into a hoop. The complete source code is
available on Github, if you have any questions reach out to me on
Twitter.
An Introduction to our Game
There is a game where players have one main goal: get a ball into a basket. This doesn’t sound that hard, but when your blood is pumping, your heart is racing, the crowd is cheering — well, it gets pretty tough to make that shot. Am I talking about the classic American game of
Basketball? No, never heard of it. I’m talking about the classic Midway arcade game
NBA Jam.
If you’ve ever played NBA Jam or any of the games it inspired (including the real life NBA league, which I think came after NBA Jam) then you know the mechanic to shoot a ball, from the player’s perspective, is fairly simple. You hold and release the
shoot button with perfect timing. Have you ever wondered how this shot takes place from the
game’s perspective though? How is the arc of the ball chosen? How hard is the ball thrown? How does the computer know the angle to shoot at?
If you were a smart, math-inclined person you may be able to figure out these answers with pen and paper, however the author of this blog post failed 8th grade algebra, so… those “smart person” answers are out of the question. I’ll need to go about this in a different way.
Instead of taking the simpler, faster, more efficient route of actually doing the math required to make a shot we’re going to see how deep the rabbit hole goes, learn some simple TensorFlow, and try to shoot some darn hoops.
Getting Started
We’ll need a handful of things to walk through this project.
If you’re not an expert in any of these technologies, that is totally okay! (I’m definitely not an expert in all this!) I’ll do my best to explain how these pieces all fit together. One disadvantage of using so many varied technologies is that I will not be able to explain everything in full detail, but I’ll try to link out to educational resources as much as possible!
Download the Project
I will not attempt to recreate this project step-by-step, so I suggest pulling down the
source code on Github and following along as I explain what is happening.
Note: You will need to download an import the
ML-Agents Unity asset package for Tensorflow to be usable in C#. If you get any errors regarding Tensorflow not being found in Unity, then make sure you’ve followed the
Unity setup docs for TensorflowSharp.
What is our goal?
To keep things simple, our desired outcome for this project will be incredibly simple. We want to solve:
if the shooter is X distance away from the hoop, shoot the ball with Y force. That’s it! We will not try to aim the ball or anything fancy. We are only trying to figure out how hard to throw the ball to make the shot.
If you’re interested in how to make more complex AIs in Unity, you should check out the much more complete
ML-Agents project from Unity. The methods I’ll talk about here are designed to be simple, approachable, and not necessarily indicative of best practices (I’m learning, too!)
My limited knowledge of TensorFlow, machine learning, and math will not be subtle. So take it with a grain of salt and understand that this is all for fun.
The Basket and the Ball
We already discussed the gist of our goal: to shoot a basket. To shoot a ball into a basket, you need a basket and… well, a ball. This is where Unity comes in.
If you’re not familiar with Unity, just know it’s a game engine which lets you build 2D and 3D games for all platforms. It has built in physics, basic 3D modeling, and a great scripting runtime (
Mono) which lets us write our game in
C#.
I’m not an artist, but I dragged around some blocks and put together this scene.
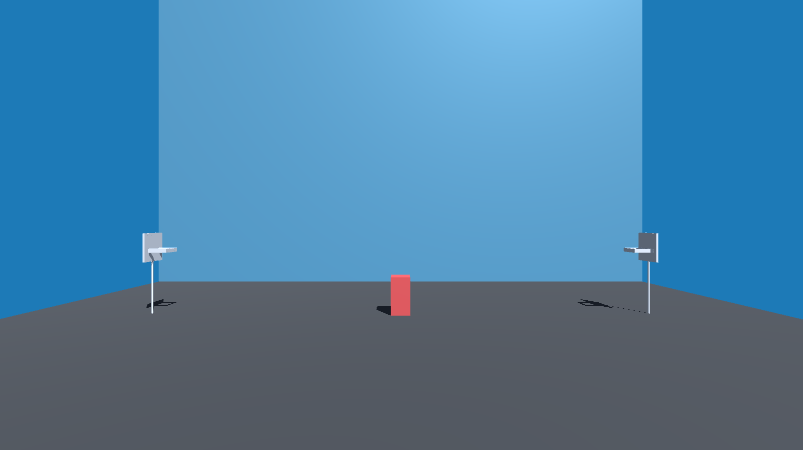
That red block is
obviously our player. The hoops have been set up with invisible
triggers which allow us to detect when an object (the ball) passes through the hoop.
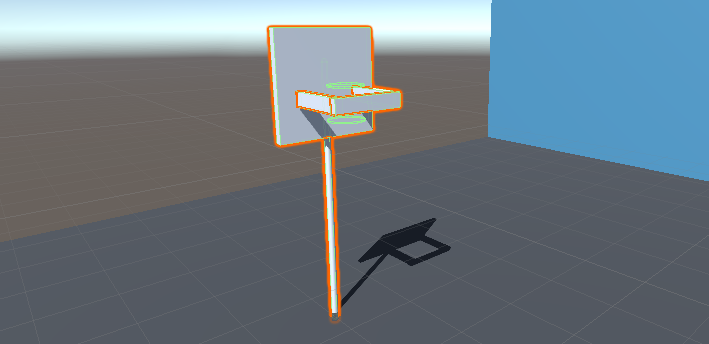
In the Unity editor you can see the invisible triggers outlined in green. You’ll notice there are two triggers. This is so we can ensure that we only count baskets where the ball falls from the top to the bottom.
If we take a look at the
OnTriggerEnter method in
/Assets/BallController.cs (the script that each instance of our basketball will have), you can see how these two triggers are used together.
This function does a few things. First, it ensures that both the top and bottom triggers are hit, then it changes the ball’s material so we can visually see that the ball has made the shot, and finally it logs out the two key variables we care about
distance and
force.y.
Taking Shots
Open up
/Assets/BallSpawnerController.cs. This is a script that lives on our shooter and does the job of spawning Basketballs and attempting to make shots. Check out this snippet near the end of the
DoShoot() method.
This code
Instantiates a new instance of a ball, then sets the force with which we’ll shoot and distance from the goal (so we can log this out more easily later, as we showed in the last snippet).
If you still have
/Assets/BallController.cs open, you can take a look at our
Start() method. This code is invoked when we create a new basketball.
In other words, we create a new ball, give it some force, then automatically destroy the ball after 30 seconds because we’re going to be dealing with a lot of balls and we want to make sure we keep things reasonable.
Let’s try running all this and see how our all-star shooter is doing. You can hit the ▶️ (Play) button in the Unity editor and we’ll see…
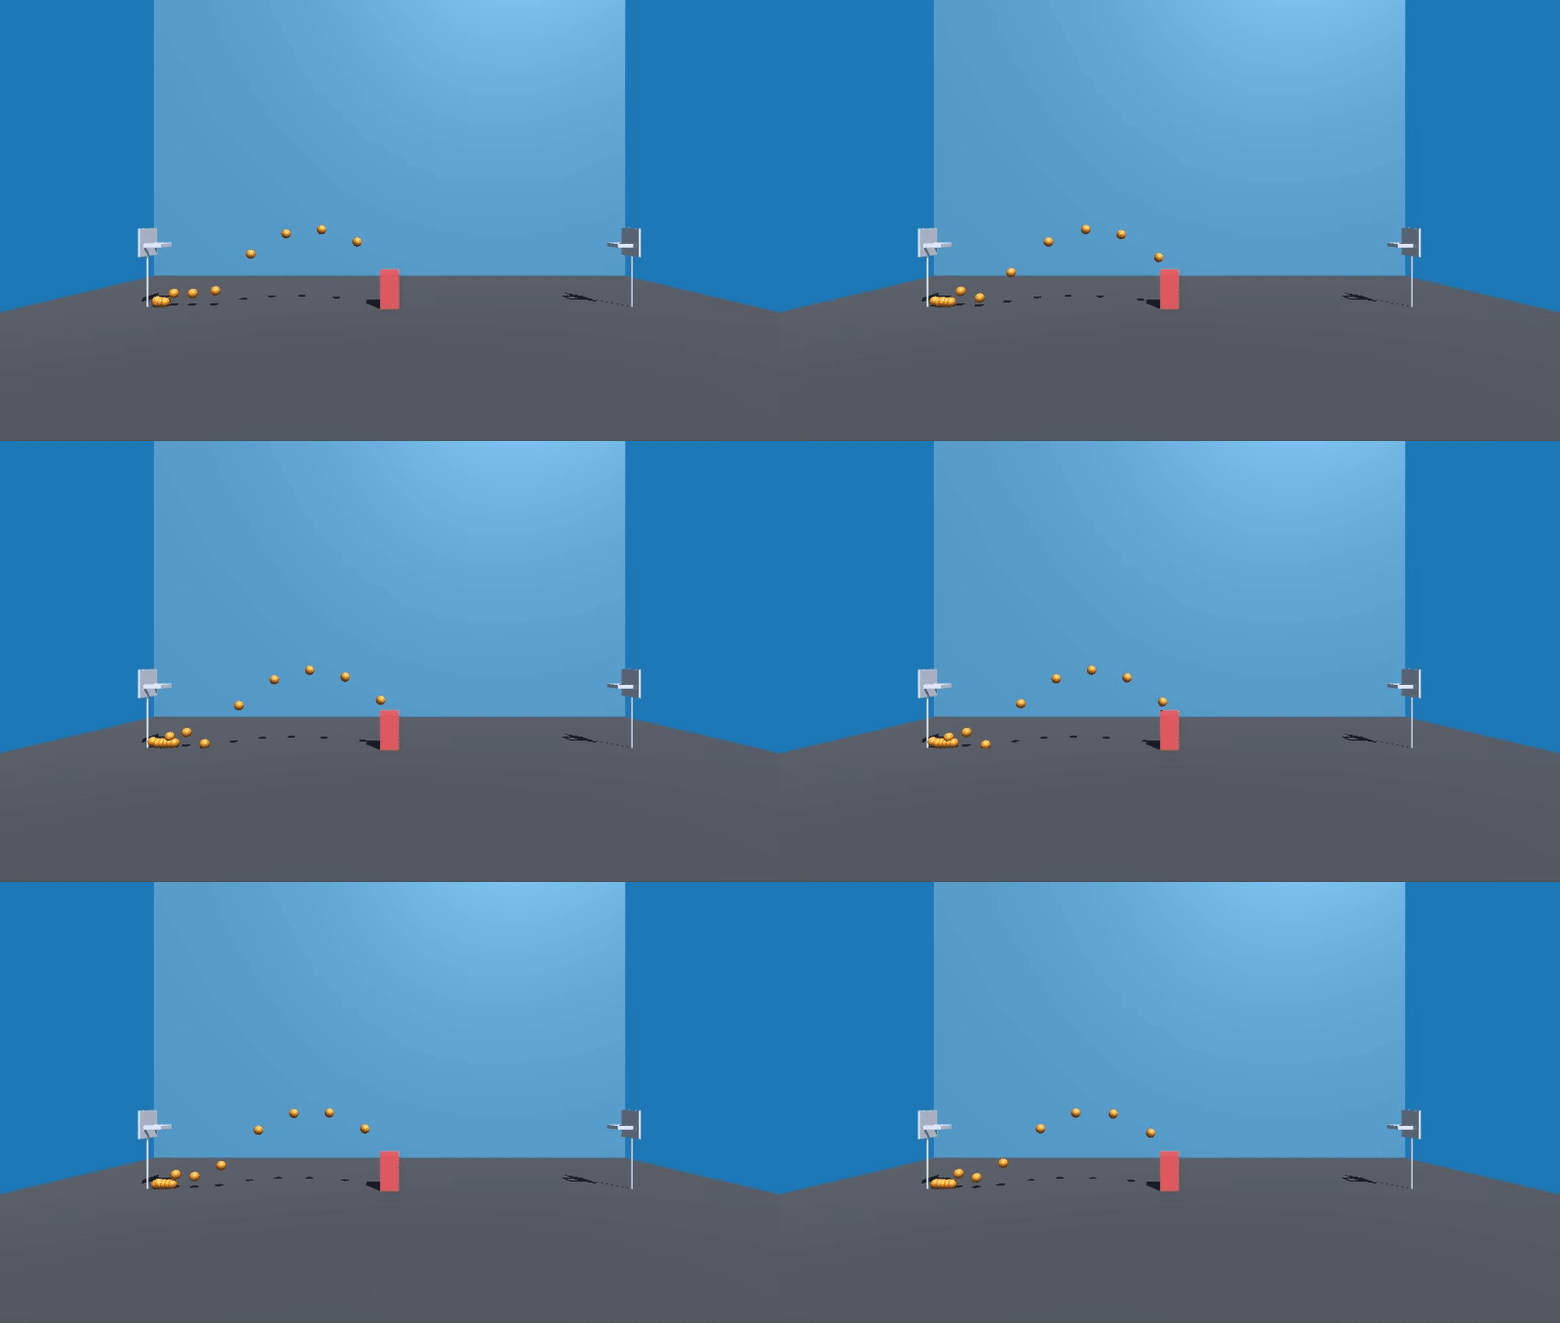
Our player, affectionately known as “Red”, is almost ready to go up against Steph Curry.
So why is Red so darn awful? The answer lies in one line in
Assets/BallController.cs which says
float force = 0.2f. This line makes the bold claim that every shot should be exactly the same. You’ll notice that Unity takes this “exactly the same” thing very literally. The same object, with the same forces, duplicated again and again will always bounce in the exact same way. Neat.
This, of course, isn’t what we want. We’ll never learn to shoot like Lebron if we never try anything new, so let’s spice it up.
Randomizing Shots, Gathering Data
We can introduce some random noise by simply changing the force to be something random.
This mixes up our shots so we can finally see what it looks like when a basket is successfully scored, even if it takes it a while to guess right.
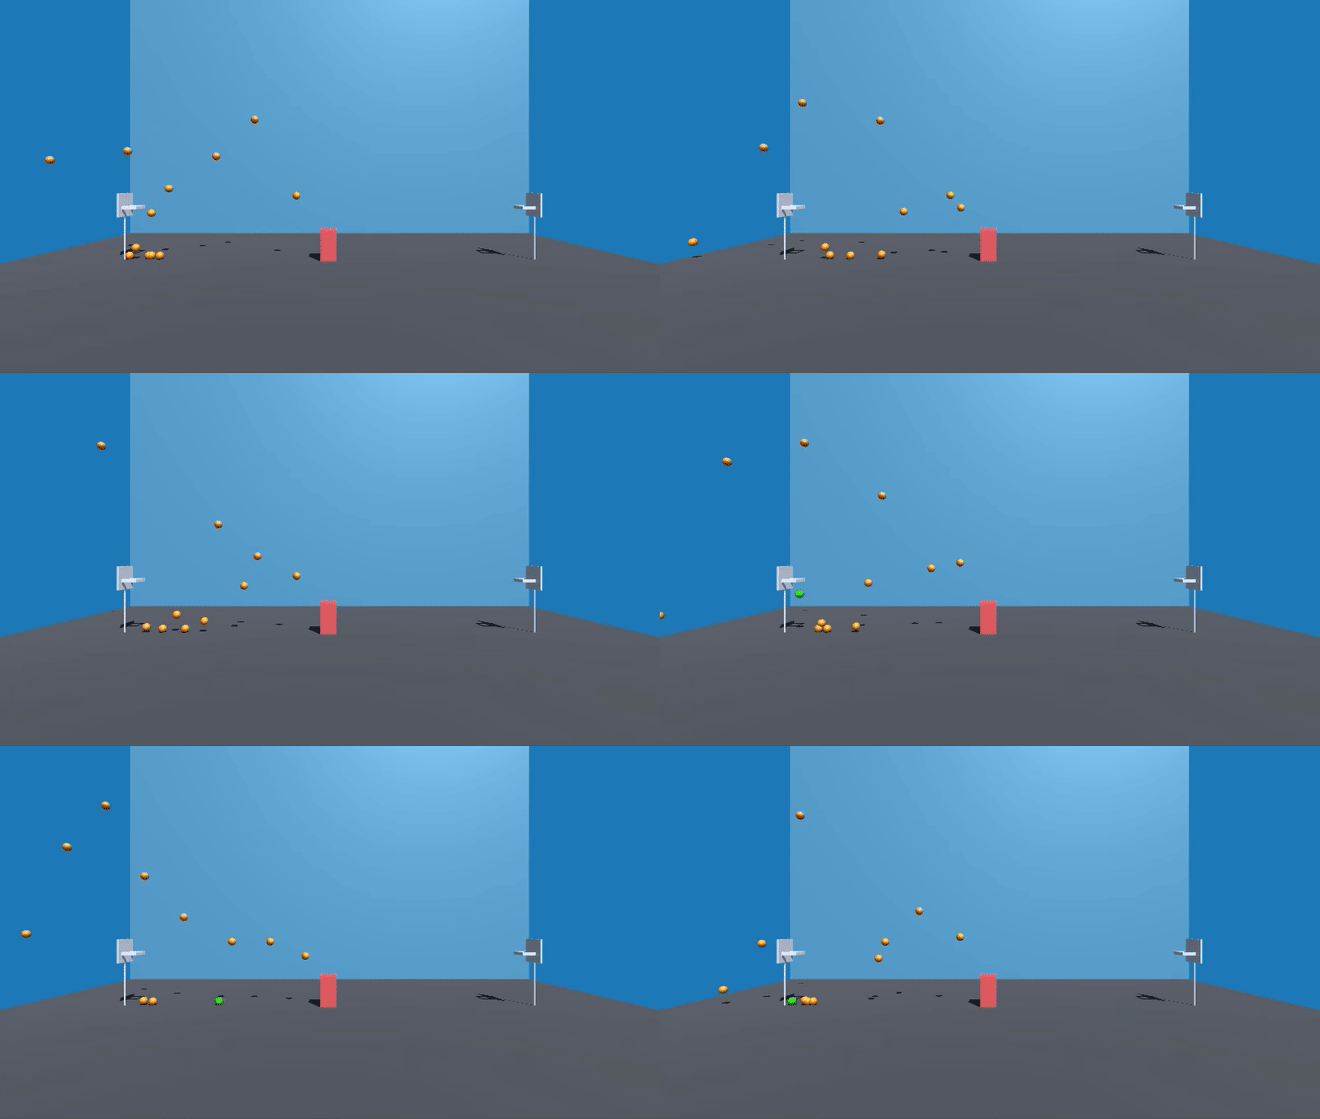
Red is very dumb, he’ll make a shot occasionally, but it’s pure luck. That’s okay though. At this point, any shot made is a data point we can use. We’ll get to that in a moment.
In the meantime, we don’t want to be able to make shots from only one spot. We want Red to successfully shoot (when he’s lucky enough) from any distance. In
Assets/BallSpawnController.cs, look for these lines and uncomment
MoveToRandomDistance().
If we run this, we’ll see Red enthusiastically jumping around the court after each shot.
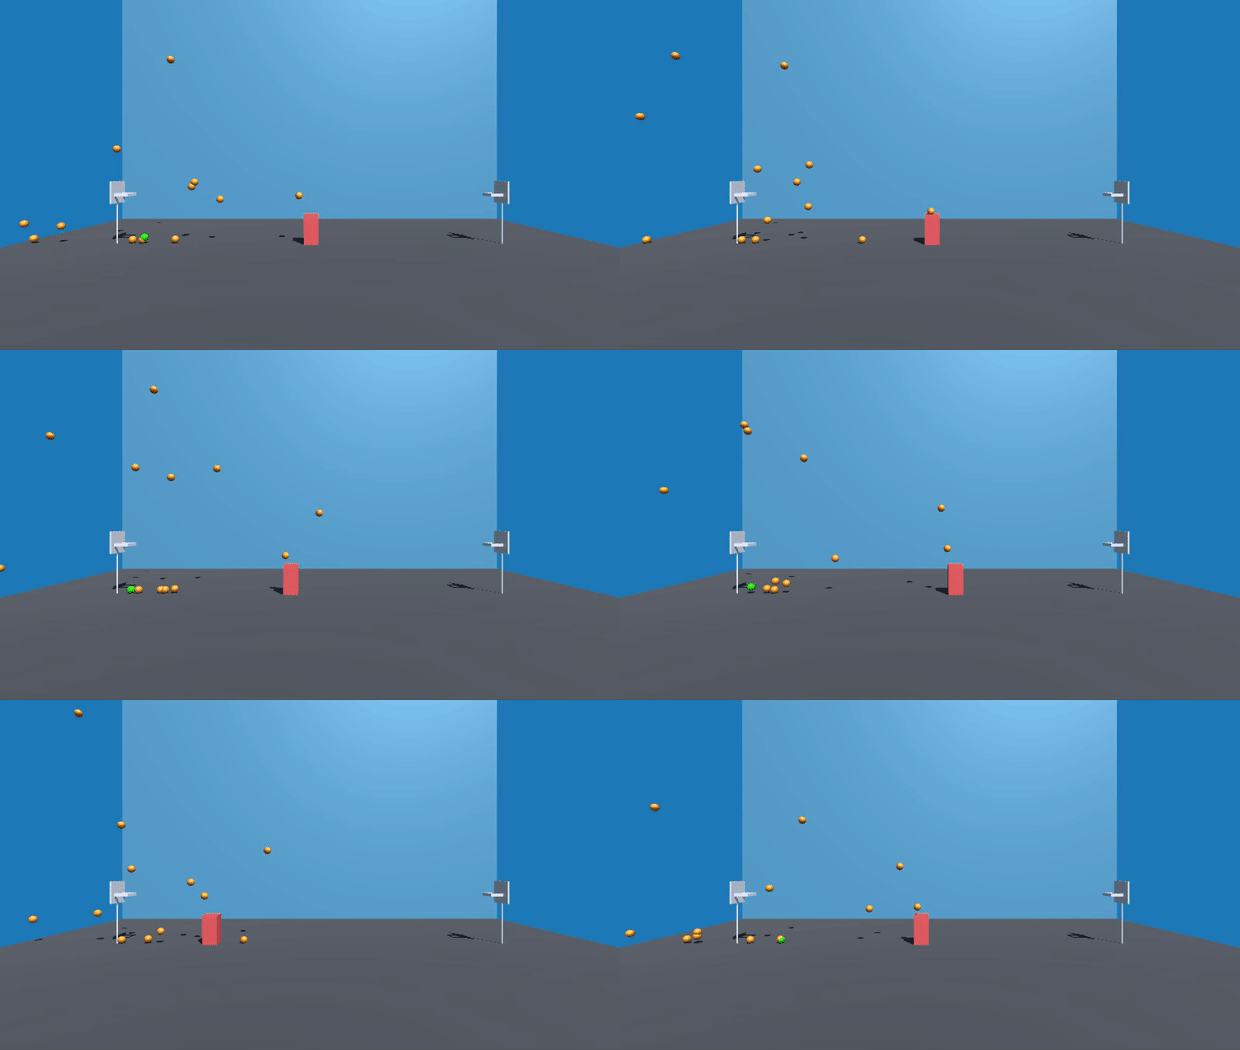
This combination of random movement and random forces is creating one very wonderful thing: data. If you look at the console in Unity, you’ll see data getting logged out for each shot as the successful attempts trickle in.
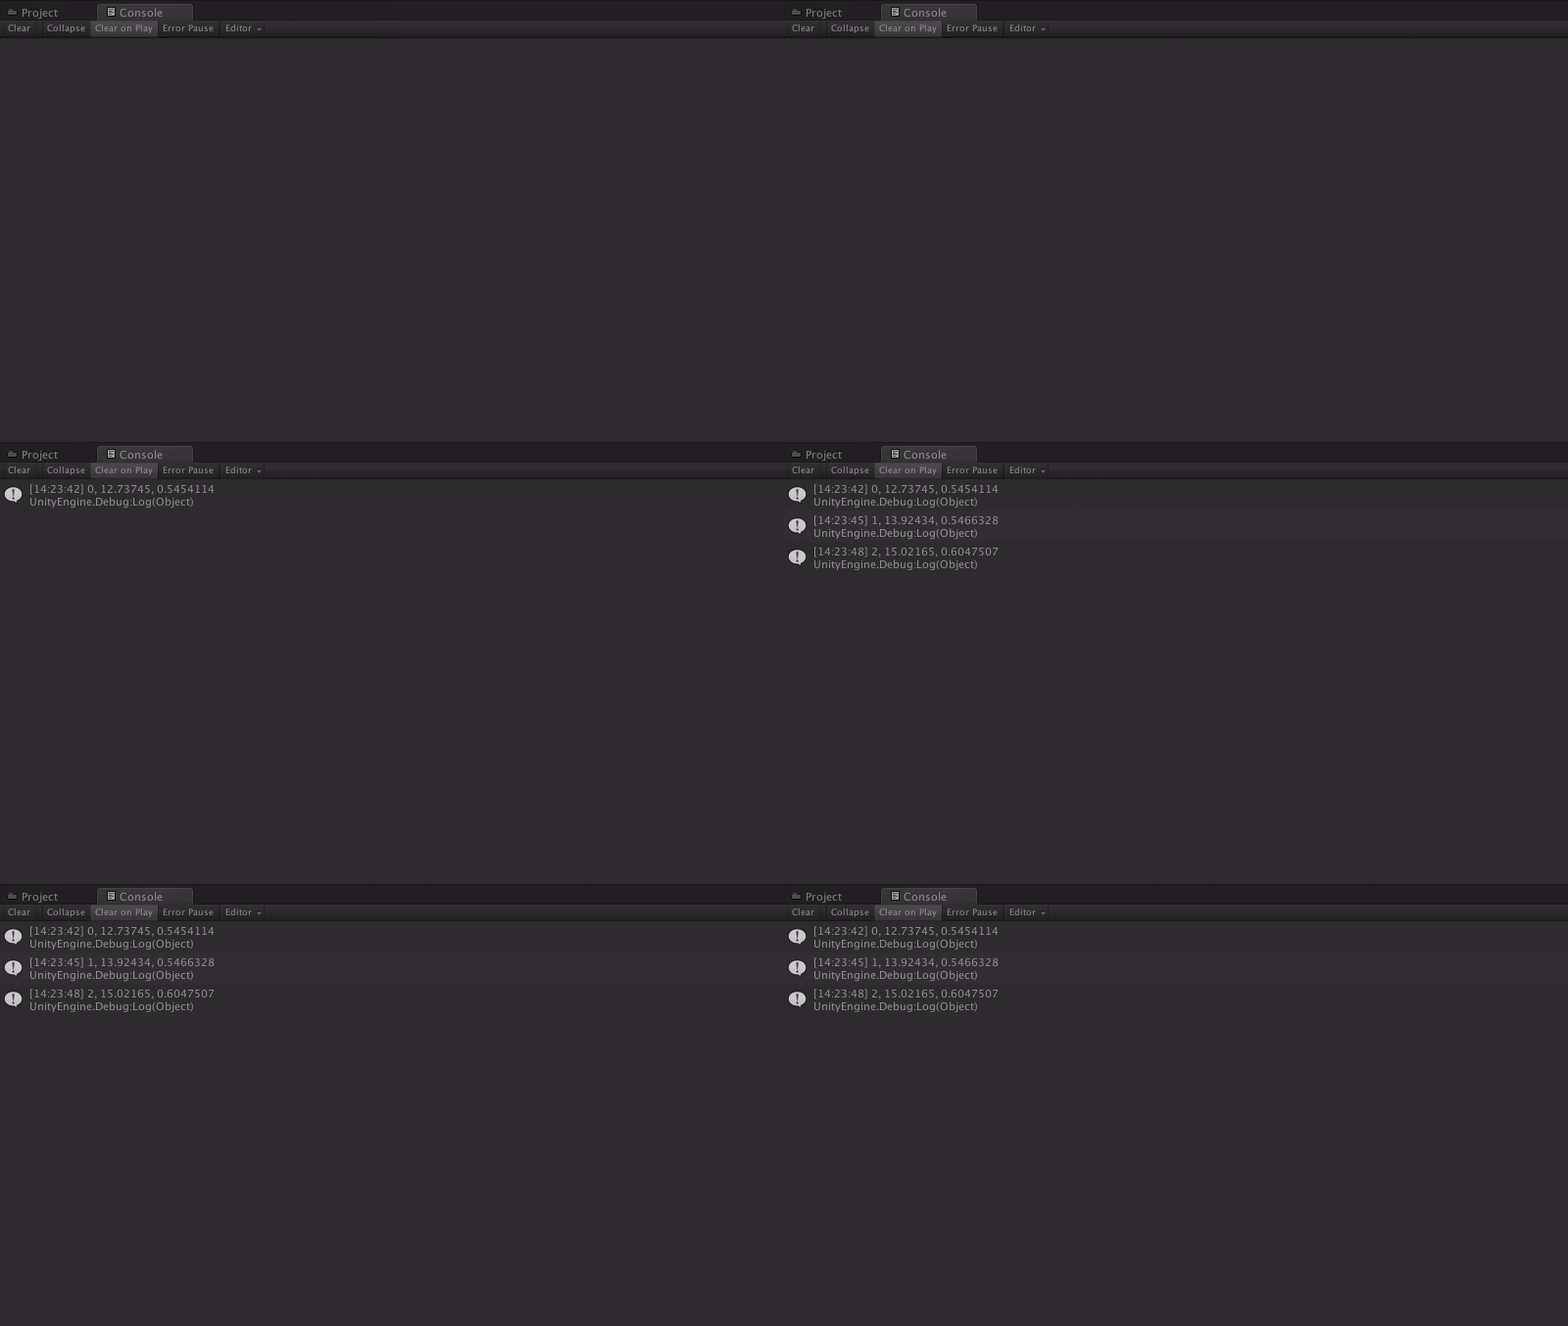
Each successful shot logs out the # of successful shots so far, the distance from the hoop, and the force required to make the shot. This is pretty slow though, lets ramp this up. Go back to where we added the
MoveToRandomDistance() call and change 0.3f (a delay of 300 milliseconds per shot) to
0.05f (a delay of 50 milliseconds).
Now hit play and watch our successful shots pour in.
Now
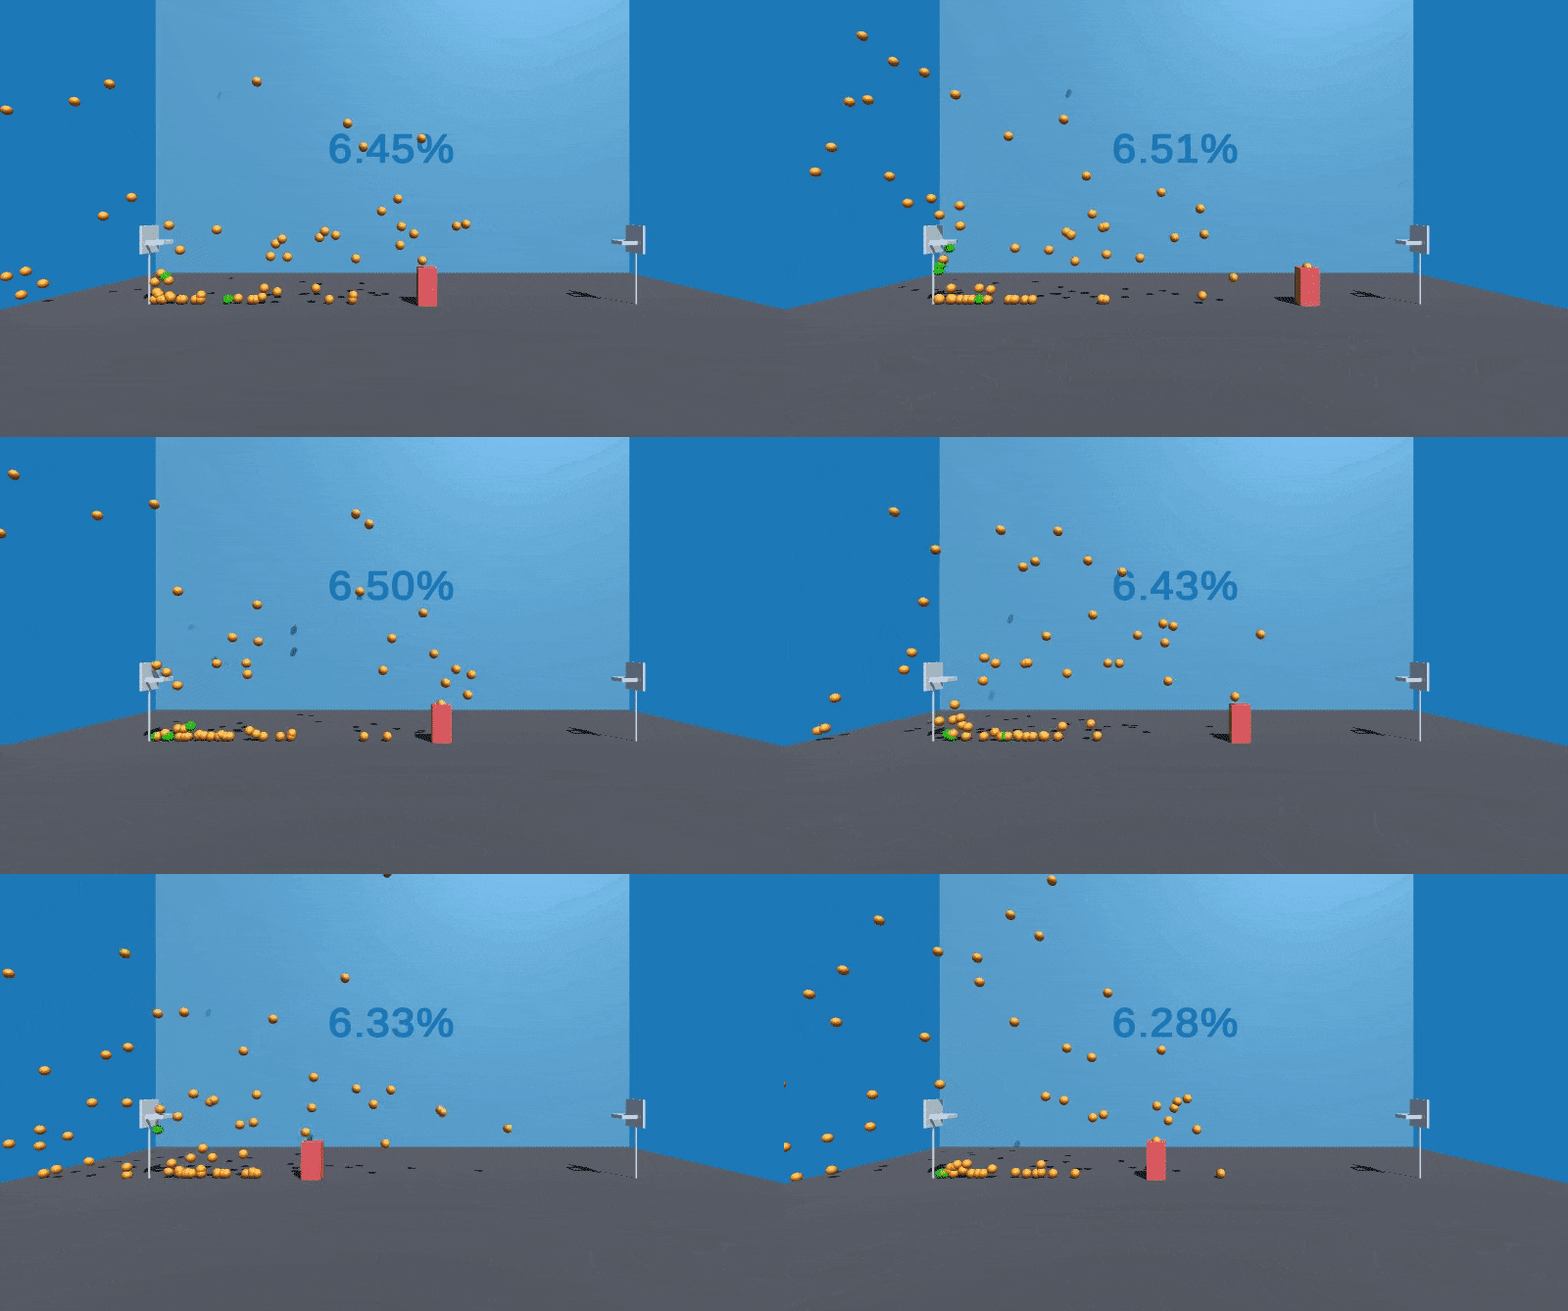
that is a good training regime! We can see from the counter in the back that we’re successfully scoring about 6.4% of shots. Steph Curry, he ain’t. Speaking of training, are we actually
learning anything from this? Where is TensorFlow? Why is this interesting? Well, that’s the next step. We’re now prepared to take this data out of Unity and build a model to predict the force required.
Predictions, Models, and Regression
Checking our data in Google Sheets
Before we dive into TensorFlow, I wanted to take a look at the data so I let Unity run until Red successfully completed about 50 shots. If you look in the root directory of the Unity project, you should see a new file
successful_shots.csv. This is a raw dump, from Unity, of each successful shot we made! I have Unity export this so that I can easily analyze it in a spreadsheet.
The
.csv file has only three rows
index,
distance and
force. I
imported this file in Google Sheets and created a
Scatterplot with a
trendline which will allow us to get an idea of the distribution of our data.

Wow! Look at that. I mean, look at
that. I mean, wow… Alright fine, I’ll admit, I wasn’t sure what this meant at first either. Let me break down what we’re seeing
This graph shows up a series of points which are positioned along the Y axis based on the force of the shot and X axis based on the distance the shot was made from. What we see is a very clear correlation between force required and distance the shot is taken from (with a few random exceptions that had crazy bounces).
Practically you can read this as “TensorFlow is going to be
very good at this.”
Although this use case is simple, one of the great things about TensorFlow is that we could build a more complex model if we wanted to, using similar code. For example, in a full game, we could include features — like the positions of the other plays, and stats about how often they’ve blocked shots in the past — to determine if our player should take a shot, or pass.
Creating our model TensorFlow.js
Open the
tsjs/index.js file in your favorite editor. This file is unrelated to Unity and is just a script to train our model based on the data in
successful_shots.csv.
Here’s the entire method which trains and saves our model…
As you can see, there’s just not much to it. We load our data from the
.csv file and create a series of X and Y points (sounds a lot like our Google Sheet above!). From there we ask the model to “fit” to this data. After that, we save our model for future consumption!
Sadly, TensorFlowSharp isn’t expecting a model in the format that Tensorflow.js can save to. So we need to do some magical translating to be able to pull our model into Unity. I’ve included a few utilities to help with this. The general process is that we’ll translate our model from
TensorFlow.js Format to
Keras Format where we can
make a checkpoint which we merge with our
Protobuf Graph Definition to get a
Frozen Graph Definition which we can pull into Unity.
Luckily, if you want to play along you can skip
all that and just run
tsjs/build.sh and if all goes well it’ll automatically go through all the steps and plop the frozen model in Unity.
Inside of Unity, we can look at
GetForceFromTensorFlow() in
Assets/BallSpawnController.cs to see what interacting with our model looks like.
When you make a graph definition, you’re defining a complex system which has multiple steps. In our case, we defined our model as a single dense layer (with an implicit input layer) which means our model takes a single input and gives us some output.
When you use
model.predict in TensorFlow.js, it will automatically supply your input to the correct input graph node and provide you with the output from the correct node once the calculation is complete. However, TensorFlowSharp works differently and requires us to interact directly with the graph nodes via their names.
With that in mind, it’s a matter of getting our input data into the format which our graph expects and sending the output back to Red.
It’s game day!
Using the system above, I created a few variations on our model. Here is Red shooting using a model trained on only 500 successful shots.
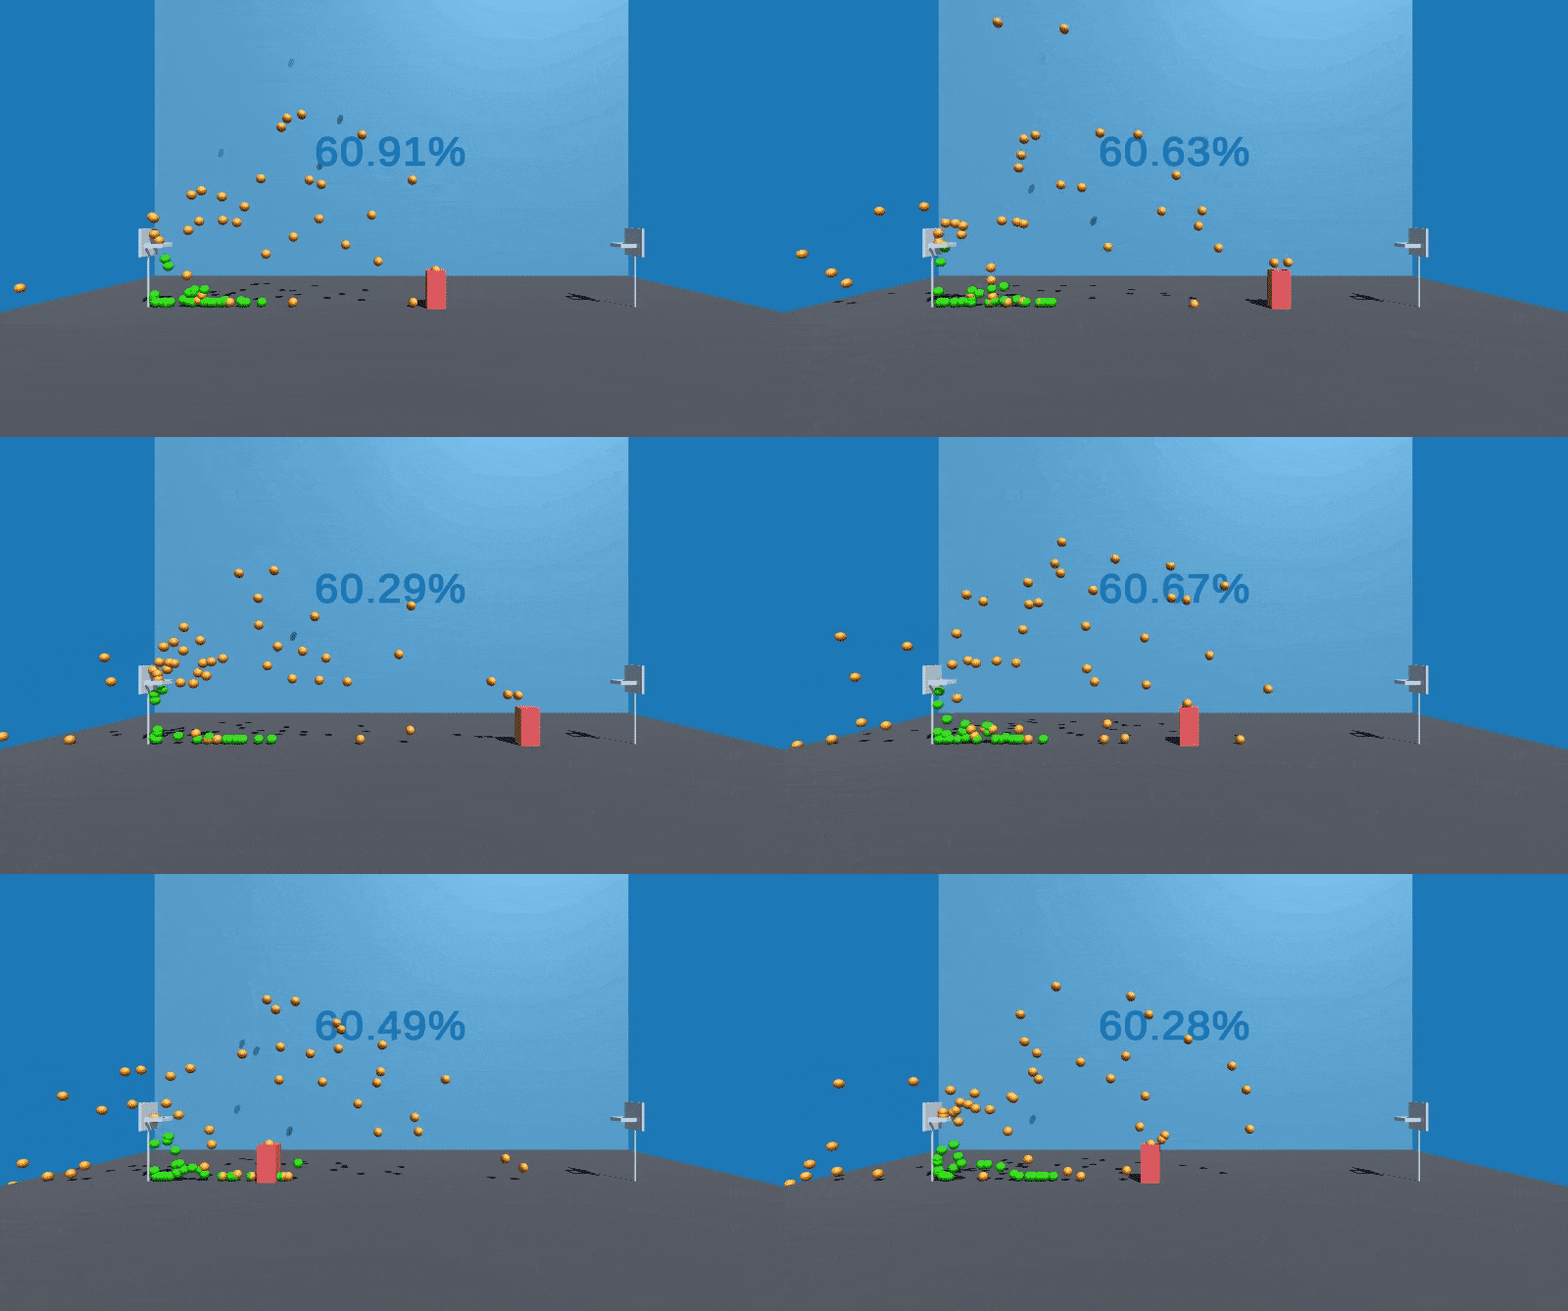
We see about a 10x increase in baskets made! What happens if we train Red for a couple hours and collect 10k or 100k successful shots? Surely that will improve his game even further! Well, I’ll leave that up to you.
I highly recommend you check
source code on Github and
tweet at me if you can beat a 60% success rate (spoiler: beating 60% is 100% possible, go back and look at the first gif to see just how good you can train Red!)

 That red block is obviously our player. The hoops have been set up with invisible triggers which allow us to detect when an object (the ball) passes through the hoop.
 In the Unity editor you can see the invisible triggers outlined in green. You’ll notice there are two triggers. This is so we can ensure that we only count baskets where the ball falls from the top to the bottom.
 Our player, affectionately known as “Red”, is almost ready to go up against Steph Curry.
 Red is very dumb, he’ll make a shot occasionally, but it’s pure luck. That’s okay though. At this point, any shot made is a data point we can use. We’ll get to that in a moment.
 This combination of random movement and random forces is creating one very wonderful thing: data. If you look at the console in Unity, you’ll see data getting logged out for each shot as the successful attempts trickle in.
 Each successful shot logs out the # of successful shots so far, the distance from the hoop, and the force required to make the shot. This is pretty slow though, lets ramp this up. Go back to where we added the
  Now that is a good training regime! We can see from the counter in the back that we’re successfully scoring about 6.4% of shots. Steph Curry, he ain’t. Speaking of training, are we actually learning anything from this? Where is TensorFlow? Why is this interesting? Well, that’s the next step. We’re now prepared to take this data out of Unity and build a model to predict the force required.
 Wow! Look at that. I mean, look at that. I mean, wow… Alright fine, I’ll admit, I wasn’t sure what this meant at first either. Let me break down what we’re seeing
 We see about a 10x increase in baskets made! What happens if we train Red for a couple hours and collect 10k or 100k successful shots? Surely that will improve his game even further! Well, I’ll leave that up to you.

