https://blog.tensorflow.org/2020/06/running-and-testing-tf-lite-on-microcontrollers.html?hl=hr
https://blogger.googleusercontent.com/img/b/R29vZ2xl/AVvXsEhRNqpsOjaGa86dxTWvDsRDn17yrKbkamkUw0pbruI-1URtpYj8varzNbXAk4qc4qHdxfEIAtkWAWdvEGf41ReiN8Y9HtI-earEC0vrZWexMsFF9LvzSfMl1eqpQWH2Gw7pSZMHHGkG284/s1600/tf-lite-in-renode_TF-blog.png
A guest post by Michael Gielda of Antmicro
Every day more and more software developers are exploring the worlds of machine learning, embedded systems, and the Internet of Things. Perhaps one of the most exciting advances to come out of the most recent innovations in these fields is the incorporation of ML at the edge and into smaller and smaller devices - often referred to as TinyML.
In “
The Future of Machine Learning is Tiny”,
Pete Warden predicted that machine learning would become increasingly available on tiny, low-power devices. Thanks to the work of the TensorFlow community, the power and flexibility of the framework is now also available on
fairly resource-constrained devices like Arm Cortex-M MCUs, as per Pete’s prediction.
Thousands of developers using TensorFlow can now deploy ML models for actions such as keyphrase detection or gesture recognition onto embedded and IoT devices. However, testing software at scale on many small and embedded devices can still be challenging. Whether it's difficulty sourcing hardware components, incorrectly setting up development environments or running into configuration issues while incorporating multiple unique devices into a multi-node network, sometimes even a seemingly simple task turns out to be complex.
 |
| Renode 1.9 was released just last month |
Even experienced embedded developers find themselves trudging through the process of flashing and testing their applications on physical hardware just to accomplish simple test-driven workflows which are now commonplace in other contexts like Web or desktop application development.
The TensorFlow Lite MCU team also faced these challenges: how do you repeatedly and reliably test various demos, models, and scenarios on a variety of hardware without manually re-plugging, re-flashing and waving around a plethora of tiny boards?
To solve these challenges, they turned to
Renode, an open source simulation framework from
Antmicro that strives to do just that: allow hardware-less, Continuous Integration-driven workflows for embedded and IoT systems.
In this article, we will show you the basics of how to use Renode to run TensorFlow Lite on a virtual RISC-V MCU, without the need for physical hardware (although if you really want to, we’ve also prepared instructions to run the same exact software on a
Digilent Arty board).
While this tutorial focuses on a RISC-V-based platform, Renode is able to simulate software targeting many different architectures, like Arm, POWER and
others, so this approach can be used with other hardware as well.
What’s the deal with Renode?
At
Antmicro, we pride ourselves on our ability to enable our customers and partners to create scalable and sustainable advanced engineering solutions to tackle complex technical challenges. For the last 10 years, our team has worked to overcome many of the same structural barriers and developer tool deficiencies now faced by the larger software developer community. We initially created the
Renode framework to meet our own needs, but as proud proponents of open source, in 2015 we decided to
release it under a permissive license to expand the reach and make embedded system design flexible, mobile and accessible to everyone.
Renode, which has just released
version 1.9, is a development framework which accelerates IoT and embedded systems development by letting you simulate physical hardware systems - including both the CPU, peripherals, sensors, environment and - in case of multi-node systems - wired or wireless medium between nodes. It’s been called “docker for embedded” and while the comparison is not fully accurate, it does convey the idea pretty well.
Renode allows you to deterministically simulate entire systems and dynamic environments - including feeding modeled sample data to simulated sensors which can then be read and processed by your custom software and algorithms. The ability to quickly run unmodified software without access to physical hardware makes Renode an ideal platform for developers looking to experiment and build ML-powered applications on embedded and IoT devices with TensorFlow Lite.
Getting Renode and demo software
To get started, you first need to install Renode as
detailed in its README file - binaries are available for Linux, Mac and Windows.
Make sure you download the proper version for your operating system to have the renode command available. Upon running the renode command in your terminal you should see the Monitor pop up in front of you, which is Renode’s command-line interface.
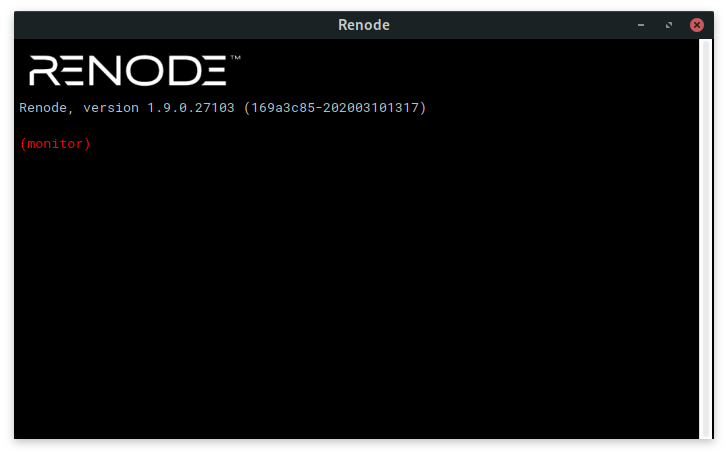 |
| The Renode “Monitor” CLI |
Once Renode has started, you’re good to go - remember, you don’t need any hardware.
We have prepared all the files you will need for this demo in a
dedicated GitHub repository.
Clone this repository with git (remember to get the submodules):
git clone --recurse-submodules https://github.com/antmicro/litex-vexriscv-tensorflow-lite-demo
We will need a demo binary to run. To simplify things, you can use the precompiled binary from the
binaries/magic_wand directory (in “
Building your own application” below we’ll explain how to compile your own, but you only need to do that when you’re ready).
Running TensorFlow Lite in Renode
Now the fun part! Navigate to the
renode directory:
cd renode
The
renode directory contains a model of the ADXL345 accelerometer and all necessary scripts and assets required to simulate the Magic Wand demo.
To start the simulation, first run renode with the name of the script to be loaded. Here we use “
litex-vexriscv-tflite.resc“, which is a “Renode script” (.resc) file with the relevant commands to create the needed platform and load the application to its memory:
renode litex-vexriscv-tflite.resc
You will see Renode’s CLI, called “Monitor”, from which you can control the emulation. In the CLI, use the
start command to begin the simulation:
(machine-0) start
You should see the following output on the simulated device’s virtual serial port (also called UART - which will open as a separate terminal in Renode automatically):
 |
| As easy as 1-2-3 |
What just happened?
Renode simulates the hardware (both the RISC-V CPU but also the I/O and sensors) so that the binary thinks it’s running on the real board. This is achieved by two Renode features: machine code translation and full SoC support.
First, the machine code of the executed application is translated to the native host machine language.
Whenever the application tries to read from or write to any peripheral, the call is intercepted and directed to an appropriate model. Renode models, usually (but not exclusively) written in C# or Python, implement the register interface and aim to be behaviorally consistent with the actual hardware. Thanks to the abstract nature of these models, you can interact with them programmatically from the Renode CLI or from script files.
In our example we feed the virtual sensor with some offline, pre-recorded
angle and
circle gesture data files:
i2c.adxl345 FeedSample @circle.data
The TF Lite binary running in Renode processes the data and - unsurprisingly - detects the gestures.
This shows another benefit of running in simulation - we can be entirely deterministic should we choose to, or devise more randomized test scenarios, feeding specially prepared generated data, choosing different simulation seeds etc.
Building your own application
If you want to build other applications, or change the provided demos, you can now build them yourself using the repository you have downloaded. You will need to install the following prerequisites (tested on Ubuntu 18.04):
sudo apt update
sudo apt install cmake ninja-build gperf ccache dfu-util device-tree-compiler wget python python3-pip python3-setuptools python3-tk python3-wheel xz-utils file make gcc gcc-multilib locales tar curl unzip
Since the software is running the
Zephyr RTOS, you will need to install Zephyr’s prerequisites too:
sudo pip3 install psutil netifaces requests virtualenv
# install Zephyr SDK
wget https://github.com/zephyrproject-rtos/sdk-ng/releases/download/v0.11.2/zephyr-sdk-0.11.2-setup.run
chmod +x zephyr-sdk-0.11.2-setup.run
./zephyr-sdk-0.11.2-setup.run -- -d /opt/zephyr-sdk
Once all necessary prerequisites are in place, go to the repository you downloaded earlier:
cd litex-vexriscv-tensorflow-lite-demo
And build the software with:
cd tensorflow
make -f tensorflow/lite/micro/tools/make/Makefile TARGET=zephyr_vexriscv \
magic_wand_bin
The resulting binary can be found in the
tensorflow/lite/micro/tools/make/gen/zephyr_vexriscv_x86_64/magic_wand/CMake/zephyr folder.
Copy it into the root folder with:
TF_BUILD_DIR=tensorflow/lite/micro/tools/make/gen/zephyr_vexriscv_x86_64
cp ${TF_BUILD_DIR}/magic_wand/CMake/zephyr/zephyr.elf ../
cp ${TF_BUILD_DIR}/magic_wand/CMake/zephyr/zephyr.bin ../
You can run it in Renode exactly as before.
To make sure the tutorial keeps working, and to showcase how simulation also enables you to do Continuous Integration easily, we also put together a
Travis CI for the demo, and that is how the binary in the example is generated.
We will describe how the TensorFlow Lite team uses Renode for Continuous Integration and how you can do that yourself in a separate note soon - stay tuned for that!
Running on hardware
Now that you have the binaries and you’ve seen them work in Renode, let’s see how the same binary behaves on physical hardware.
You will need a
Digilent Arty A7 board and
ACL2 PMOD, connected to the rightmost Pmod connector as in the picture.
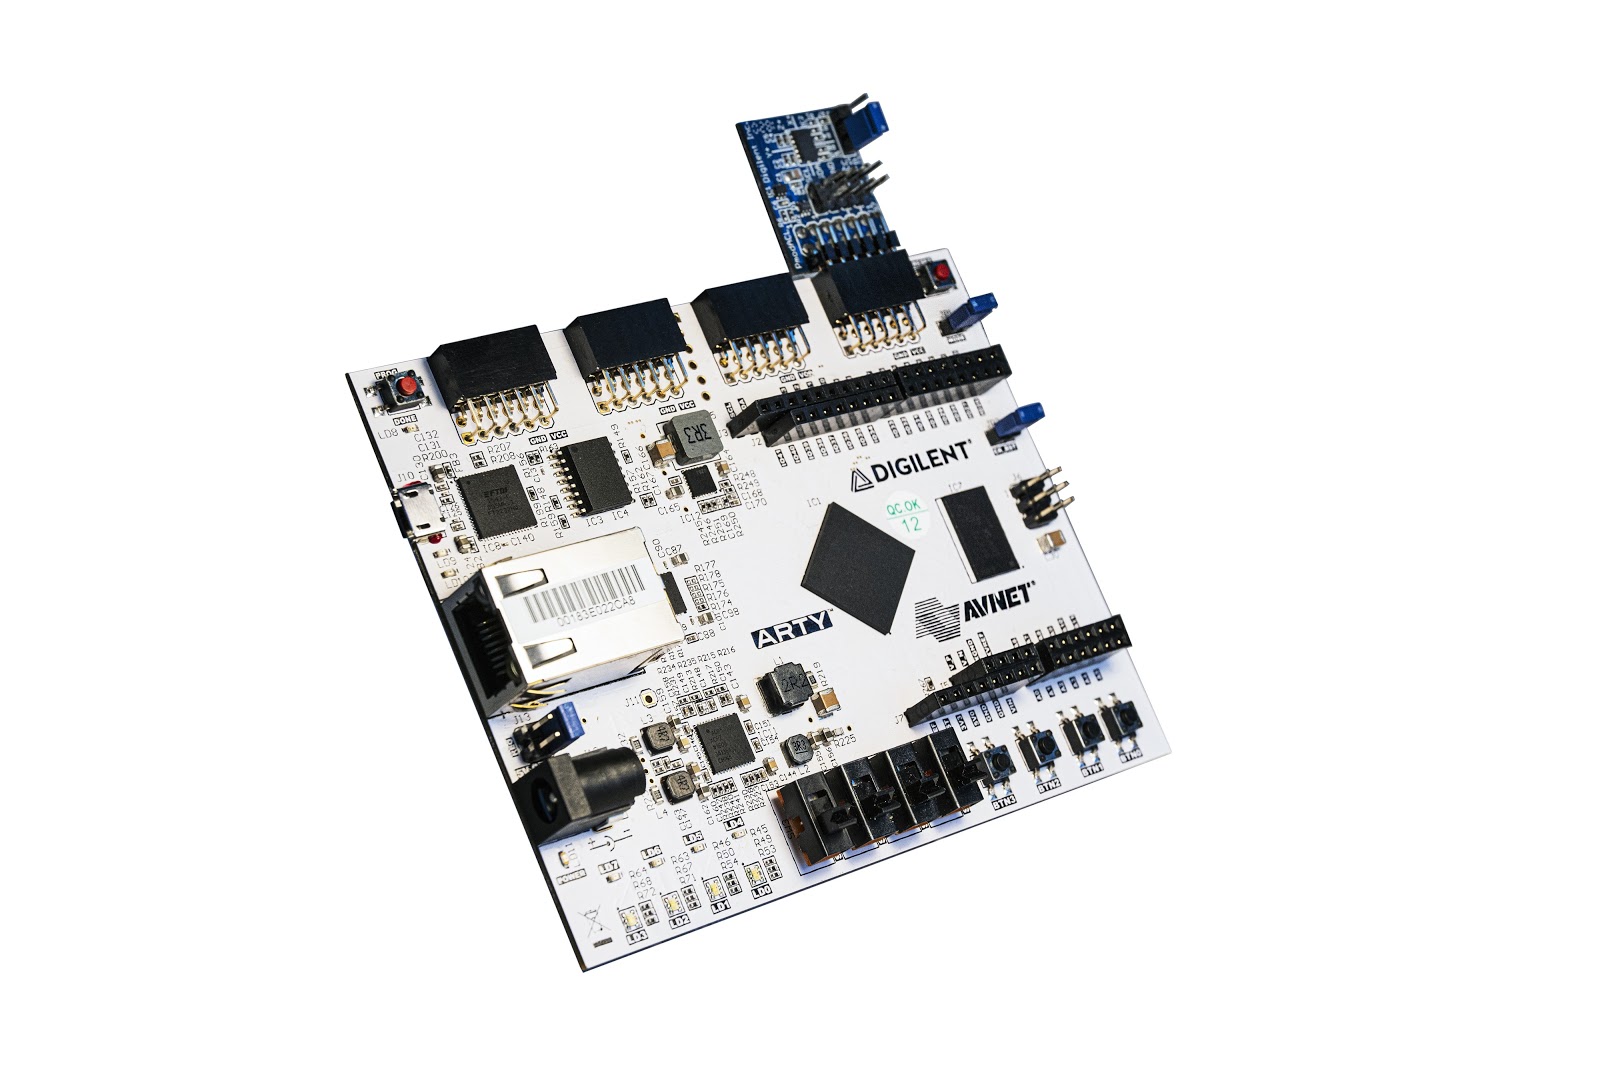 |
| The hardware setup |
The system is a SoC-in-FPGA called
LiteX, with a pretty capable RISC-V core and various I/O options.
To build the necessary FPGA gateware containing our RISC-V SoC, we will be using
LiteX Build Environment, which is an FPGA oriented build system that serves as an easy entry into FPGA development on various hardware platforms.
Now initialize the LiteX Build Environment:
cd litex-buildenv
export CPU=vexriscv
export CPU_VARIANT=full
export PLATFORM=arty
export FIRMWARE=zephyr
export TARGET=tf

./scripts/download-env.sh
source scripts/enter-env.sh
Then build the gateware:
make gateware
Once you have built the gateware, load it onto the FPGA with:
make gateware-load
With the FPGA programmed, you can load the Zephyr binary on the device using the
flterm program provided inside the environment you just initialized above:
flterm --port=/dev/ttyUSB1 --kernel=zephyr.bin --speed=115200
flterm will open the serial port. Now you can wave the board around and see the gestures being recognized in the terminal. Congratulations! You have now completed the entire tutorial.
Summary
In this post, we have demonstrated how you can useTensorFlow Lite for MCUs without (and with) hardware. In the coming months, we will follow up with a description of how you can proceed from interactive development with Renode to doing Continuous Integration of your Machine Learning code, and then show the advantages of combining the strengths of TensorFlow Lite and the Zephyr RTOS.
You can find the most up to date instructions in the
demo repository. The repository links to tested TensorFlow, Zephyr and LiteX code versions via submodules. Travis CI is used to test the guide.
If you’d like to explore more hardware and software with Renode, check the complete list of
supported boards. If you encounter problems or have ideas, file an issue on GitHub, and for specific needs, such as enabling TensorFlow Lite and simulation on your platform, you can contact us at
contact@renode.io.


